The most efficient way to power the VU meter lamp is directly from the power transformer secondary AC current. There is no need to rectify (change to DC) it as the incandescent lamp will happily run from this AC current.
However, the voltage at the transformer secondary is surely higher than we need to power the VU lamp, which is ordinarily a nominal 12 Volts. Even then, the lamp will last longer and probably look better when running from a lower voltage. The light from the VU meter lamp can be blinding in an otherwise darkened studio environment.
So a resistor is needed to drop the voltage. In order to select a resistor we need to know a few things:
- The transformer secondary voltage under load
- The current drawn from the lamp
- The voltage we would like to see at the lamp itself
The voltage of a single secondary winding is easily measured if you have finished the previous wiring so far. Set your meter for AC Volts and measure from the center tap at the terminal strip to either of the secondaries. Using the Avel-Lindberg toroidal transformer sold by Hairball which is already hooked up and powering the rest of the circuit, the measurement is 30.4V.
Measuring the current drawn from the lamp in the meter sold by Hairball gives a reading of 89mA.
Powering the lamp at around 11 Volts seems to give a decent glow.
So 30.4V - 11V = 19.4V. We need to drop 19.4 Volts across the resistor.
19.4/.089 = 217.99. So we need a value of around 218 Ohms for the resistor. Choosing a standard value close to that we settle on a 240 Ohm 5 Watt resistor.
If you are using a different transformer, lamp (such as the LED also supplied in the VU meters from Hairball) or simply want to select your own brightness for your lamp, calculate your own resistor value using the instructions above as a guide.
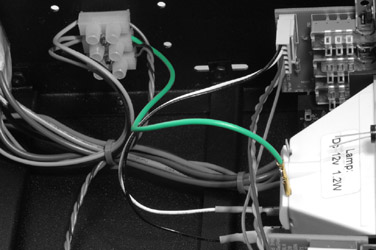
Wire one side of the VU meter lamp terminals to the center tap connection of the power transformer secondary. This is the same connection that feeds the CT pad on the main PCB.
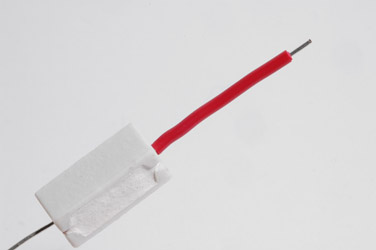
Slip a piece of insulation over one side of your selected power resistor.
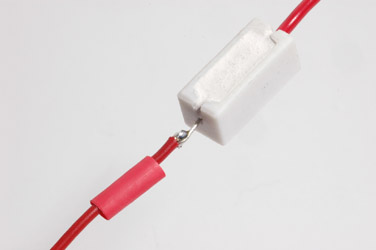
Cut the other end of the resistor lead short and mechanically secure a wire to it by creating a hook on each side. Solder this connection and slip a piece of heatshrink over the junction.
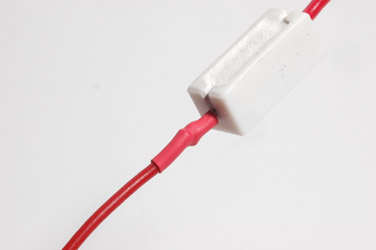
Shrink the heatshrink over the solder joint and exposed wire.
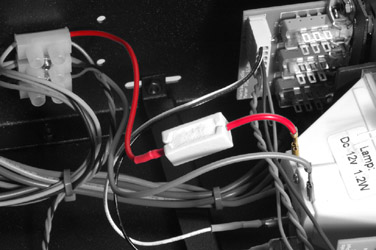
Loosen either of the two outside terminals of the power transformer secondary terminal strip and insert the wire from the prepared assembly and tighten. Attach the other end to the remaining terminal of the VU meter lamp.
Leave the resistor suspended in the case without touching other wires or components. It will get hot!
Now go calibrate.
)
)
)
)
)
)